
Reading a Map and Compass for Beginner Hill Walkers

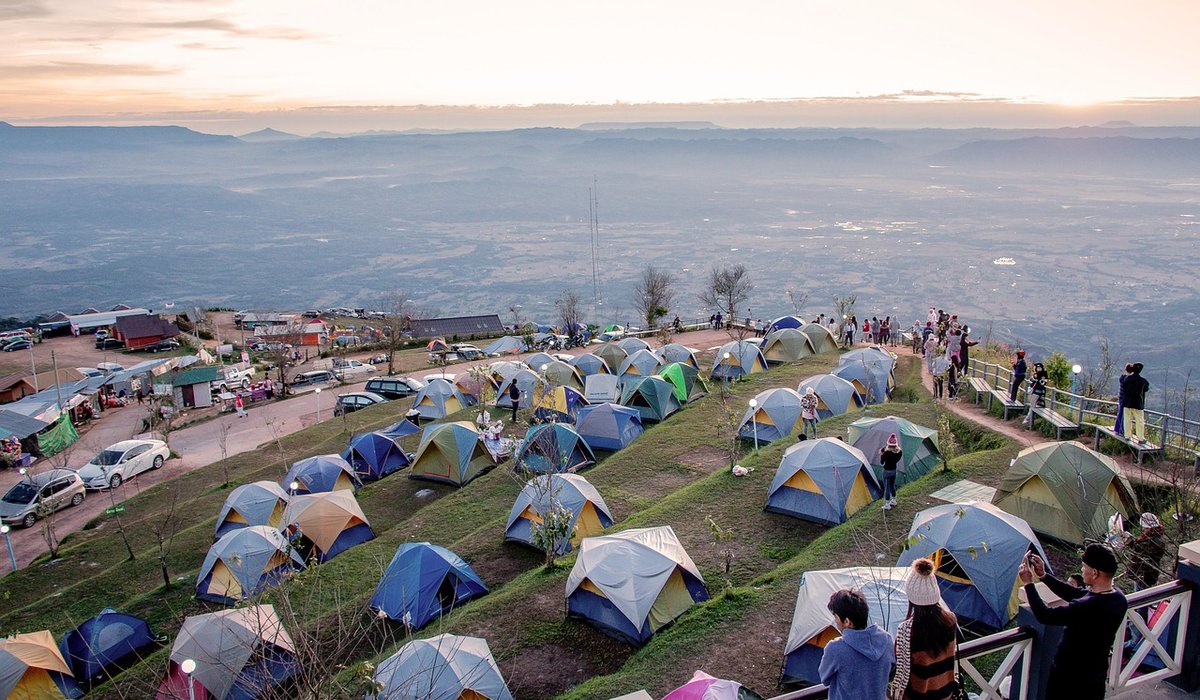
There’s a moment on every remote trail when the phone signal drops, the battery icon turns red, and the path ahead forks into two equally plausible options. That’s when a paper map and a simple compass stop being nostalgic kit and become your most reliable companions. The good news is that the skills you need are straightforward, and a little practice on familiar ground will give you the confidence to explore further.
Why the Map and Compass Still Earn Their Place
Phone batteries fail in the cold, screens are hard to read in driving rain, and a dropped device can end your navigation entirely. A map never needs charging, works with gloves on, and gives you the big picture: the shape of the land, the paths, the crags, and the escape routes. A compass weighs almost nothing and tells you which way you’re facing when clouds hide every landmark. Together they are a backup that quickly becomes your primary tool.
Understanding the Map: Scale, Symbols and Grid References
Most UK hill maps come at 1:25,000 or 1:50,000 scale. On a 1:25,000 map, 4cm on paper equals 1km on the ground; on a 1:50,000 map, 2cm equals 1km. That means a 1:25,000 map shows more detail—walls, streams, small paths—while a 1:50,000 map covers more ground for longer routes. Learn the key symbols: rights of way, boundaries, water features, and rocky outcrops.
Grid references pinpoint a location. Always read eastings first, then northings—"along the corridor, up the stairs." A four-figure reference, like 12 34, gives a 1km square. A six-figure reference, like 123 456, narrows it to 100m. Estimate the tenths between grid lines, or use a simple romer on your compass baseplate. Write down the reference for your start point and any key junctions before you set off.
Reading Contours: Seeing the Shape of the Land
Contours are the lines that join points of equal height. The interval is usually 10 metres on UK hill maps. Thicker index contours are labelled with their height, and every fifth contour is usually thicker. Close together means steep ground; far apart means gentle slopes. V-shaped contours pointing uphill show a valley or re-entrant; a ring contour shows a summit or a depression.
Use your thumb to count contours from a known height, such as a bridge or a lake, to estimate how much climbing a route involves. This is how you tell a pleasant stroll from a lung-busting ascent. It also helps you spot safe descents and avoid accidentally walking over a crag.
Taking a Bearing: From Map to Ground
A bearing is simply the direction from one point to another, measured in degrees. To take one:
- Place the compass on the map with its long edge along the line from where you are to where you want to go. The direction of travel arrow must point towards your destination.
- Rotate the bezel until the orienting lines inside it line up with the map’s grid lines, and the N on the bezel points to the top of the map.
- Read the number at the index line. That is your grid bearing.
In the UK, magnetic variation is small, but check the map margin for the current figure and adjust if needed. To follow the bearing, hold the compass flat in front of you and turn your whole body until the red magnetic needle sits inside the orienting arrow. The direction of travel arrow now points the way. Pick a distant landmark on that line and walk to it.
Walking on a Bearing and Keeping Track
Don’t stare at the compass—you’ll trip. Instead, choose a feature ahead: a boulder, a lone tree, a bend in a stream. Walk to it, then recheck your bearing. In poor visibility, use pacing to measure distance. Count your double paces over 100m on a known stretch, then use that number to estimate how far you’ve travelled.
Allow time using Naismith’s rule: roughly 4km per hour on easy ground, plus 1 minute for every 10m of ascent. Add extra for bog, scree, or a heavy rucksack. Use handrails—walls, fences, streams, paths—to guide you. If you’re aiming for a small target like a bridge, deliberately aim off to one side, hit the stream, and then follow it to the bridge. That’s called aiming off, and it stops you walking past your goal in mist.
Practice Makes Confident Navigators
Start on familiar ground. Set the map to the ground by aligning grid lines with the compass needle, then take bearings between features you can see. Follow a contour line. Practise six-figure grid references until they feel natural. Carry your map in a waterproof case and your compass on a lanyard. Tell someone your route and expected return time. The more you use these skills in good conditions, the more automatic they become when the weather turns and the phone dies.

Joeby Ragpa
This template is so awesome. I didn’t expect so many features inside. E-commerce pages are very useful, you can launch your online store in few seconds. I will rate 5 stars.
ReplyAlexander Samokhin
This template is so awesome. I didn’t expect so many features inside. E-commerce pages are very useful, you can launch your online store in few seconds. I will rate 5 stars.
ReplyChris Root
This template is so awesome. I didn’t expect so many features inside. E-commerce pages are very useful, you can launch your online store in few seconds. I will rate 5 stars.
Reply